High Quality RO Membrane FRP Pressure Vessels - Multi-Field Use
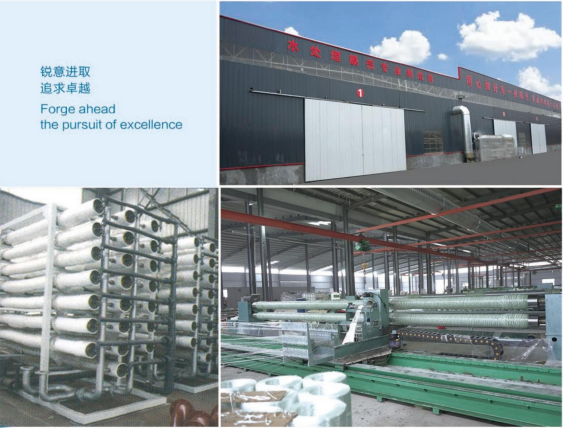
Wuxi Fenigal Science and Technology Co., Ltd. has been supplying RO FRP pressure vessels for the water industry since 2010. After over a decade of development, it boasts self-developed multi-axis rotating wire winding machines (enhancing product strength and surface flatness) and five systems for curing, grinding, and pressure testing. With an annual output of 100,000 FRP membrane shells, it meets domestic and foreign customers' needs with reliable products and perfect services.
Our Mission
Provide high-quality products to meet customers' personalized needs
A scientific and perfect quality assurance system is established, integrating quality assurance into every process from design to after-sales with a rigorous attitude, ensuring reliable and superior products.
Standard production procedure of RO pressure vessel: Winding → Sanding → Lathing → Drilling → Hydro test → Painting → Package
Standard inspection and test plan of RO pressure vessel: Inspected in accordance with industrial standards, including:
Production raw materials: Fiberglass, Epoxy Resin, Anhydride
Production process test
Hydro-static pressure test (every vessel): Increase pressure at a constant speed, maintain for 3 minutes at 1.1 times working pressure, ensuring no leakage and stable pressure.
Final Inspection
Product features:
● Sulfuric acid resistance: 25%
● Hydrofluoric acid resistance: 10%
● High temperature resistance: 60/90°℃
● Fully adaptable to strong acid, strong alkali, and other special media environments.
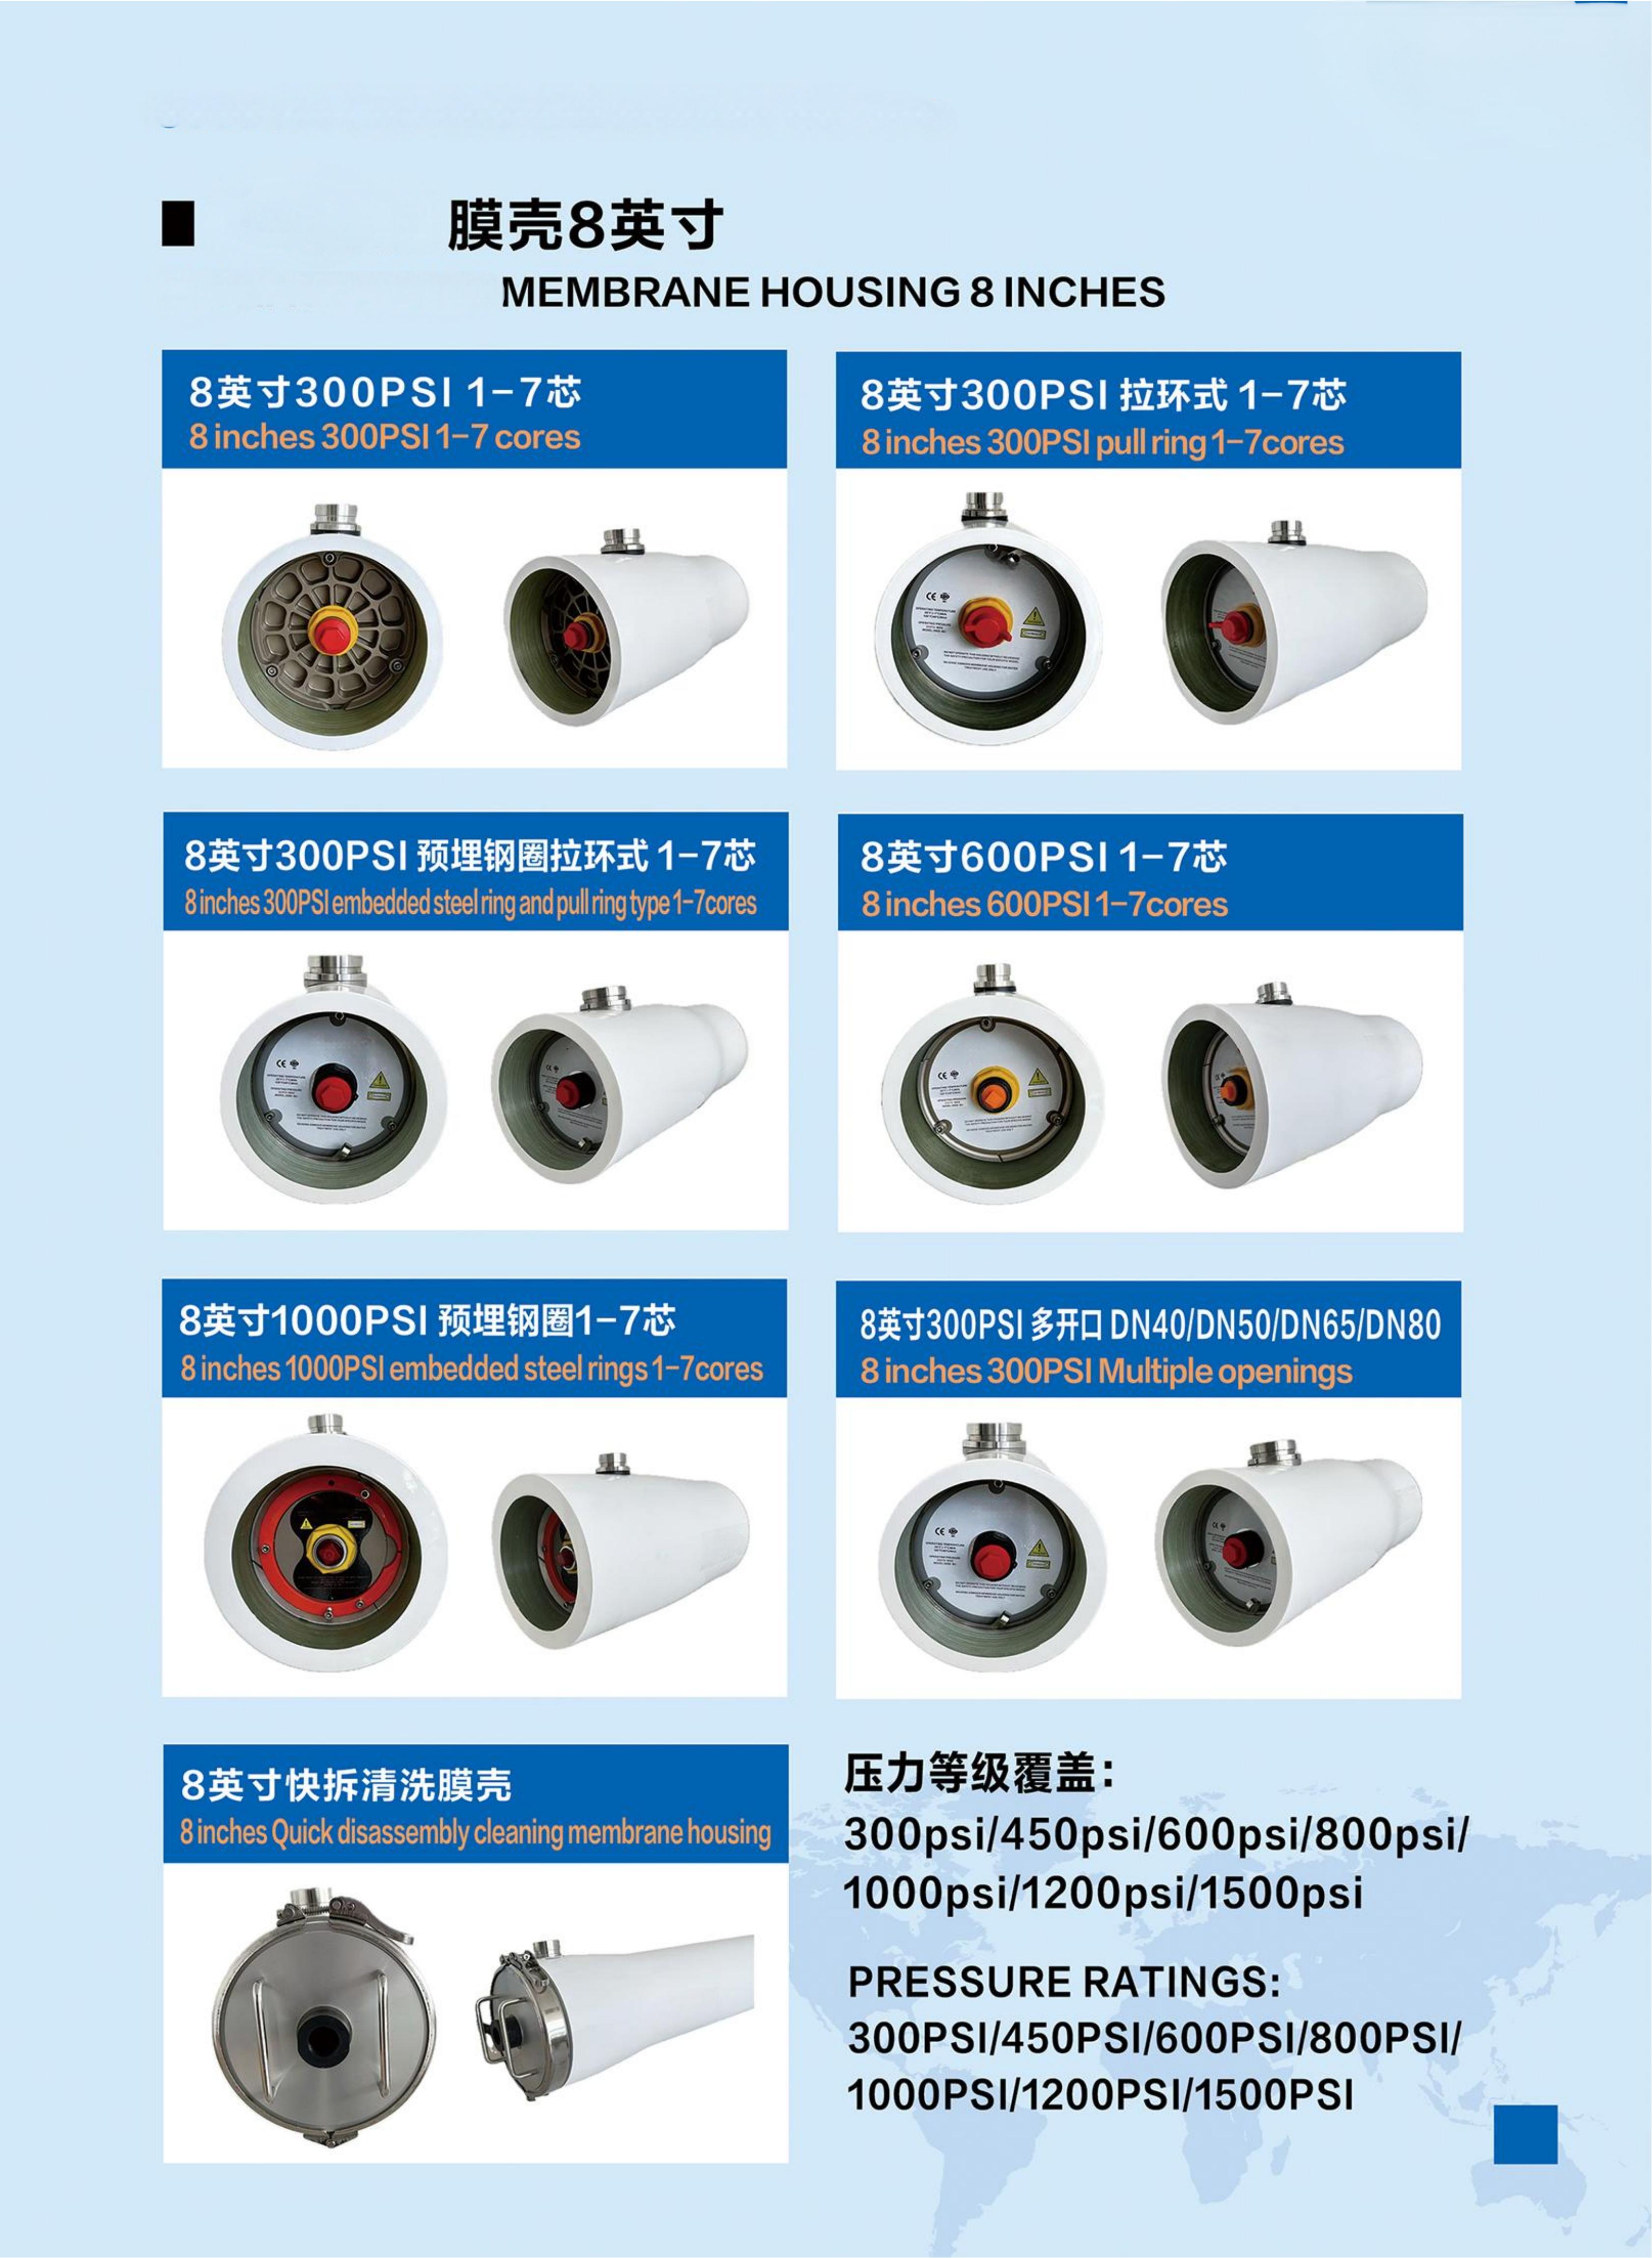
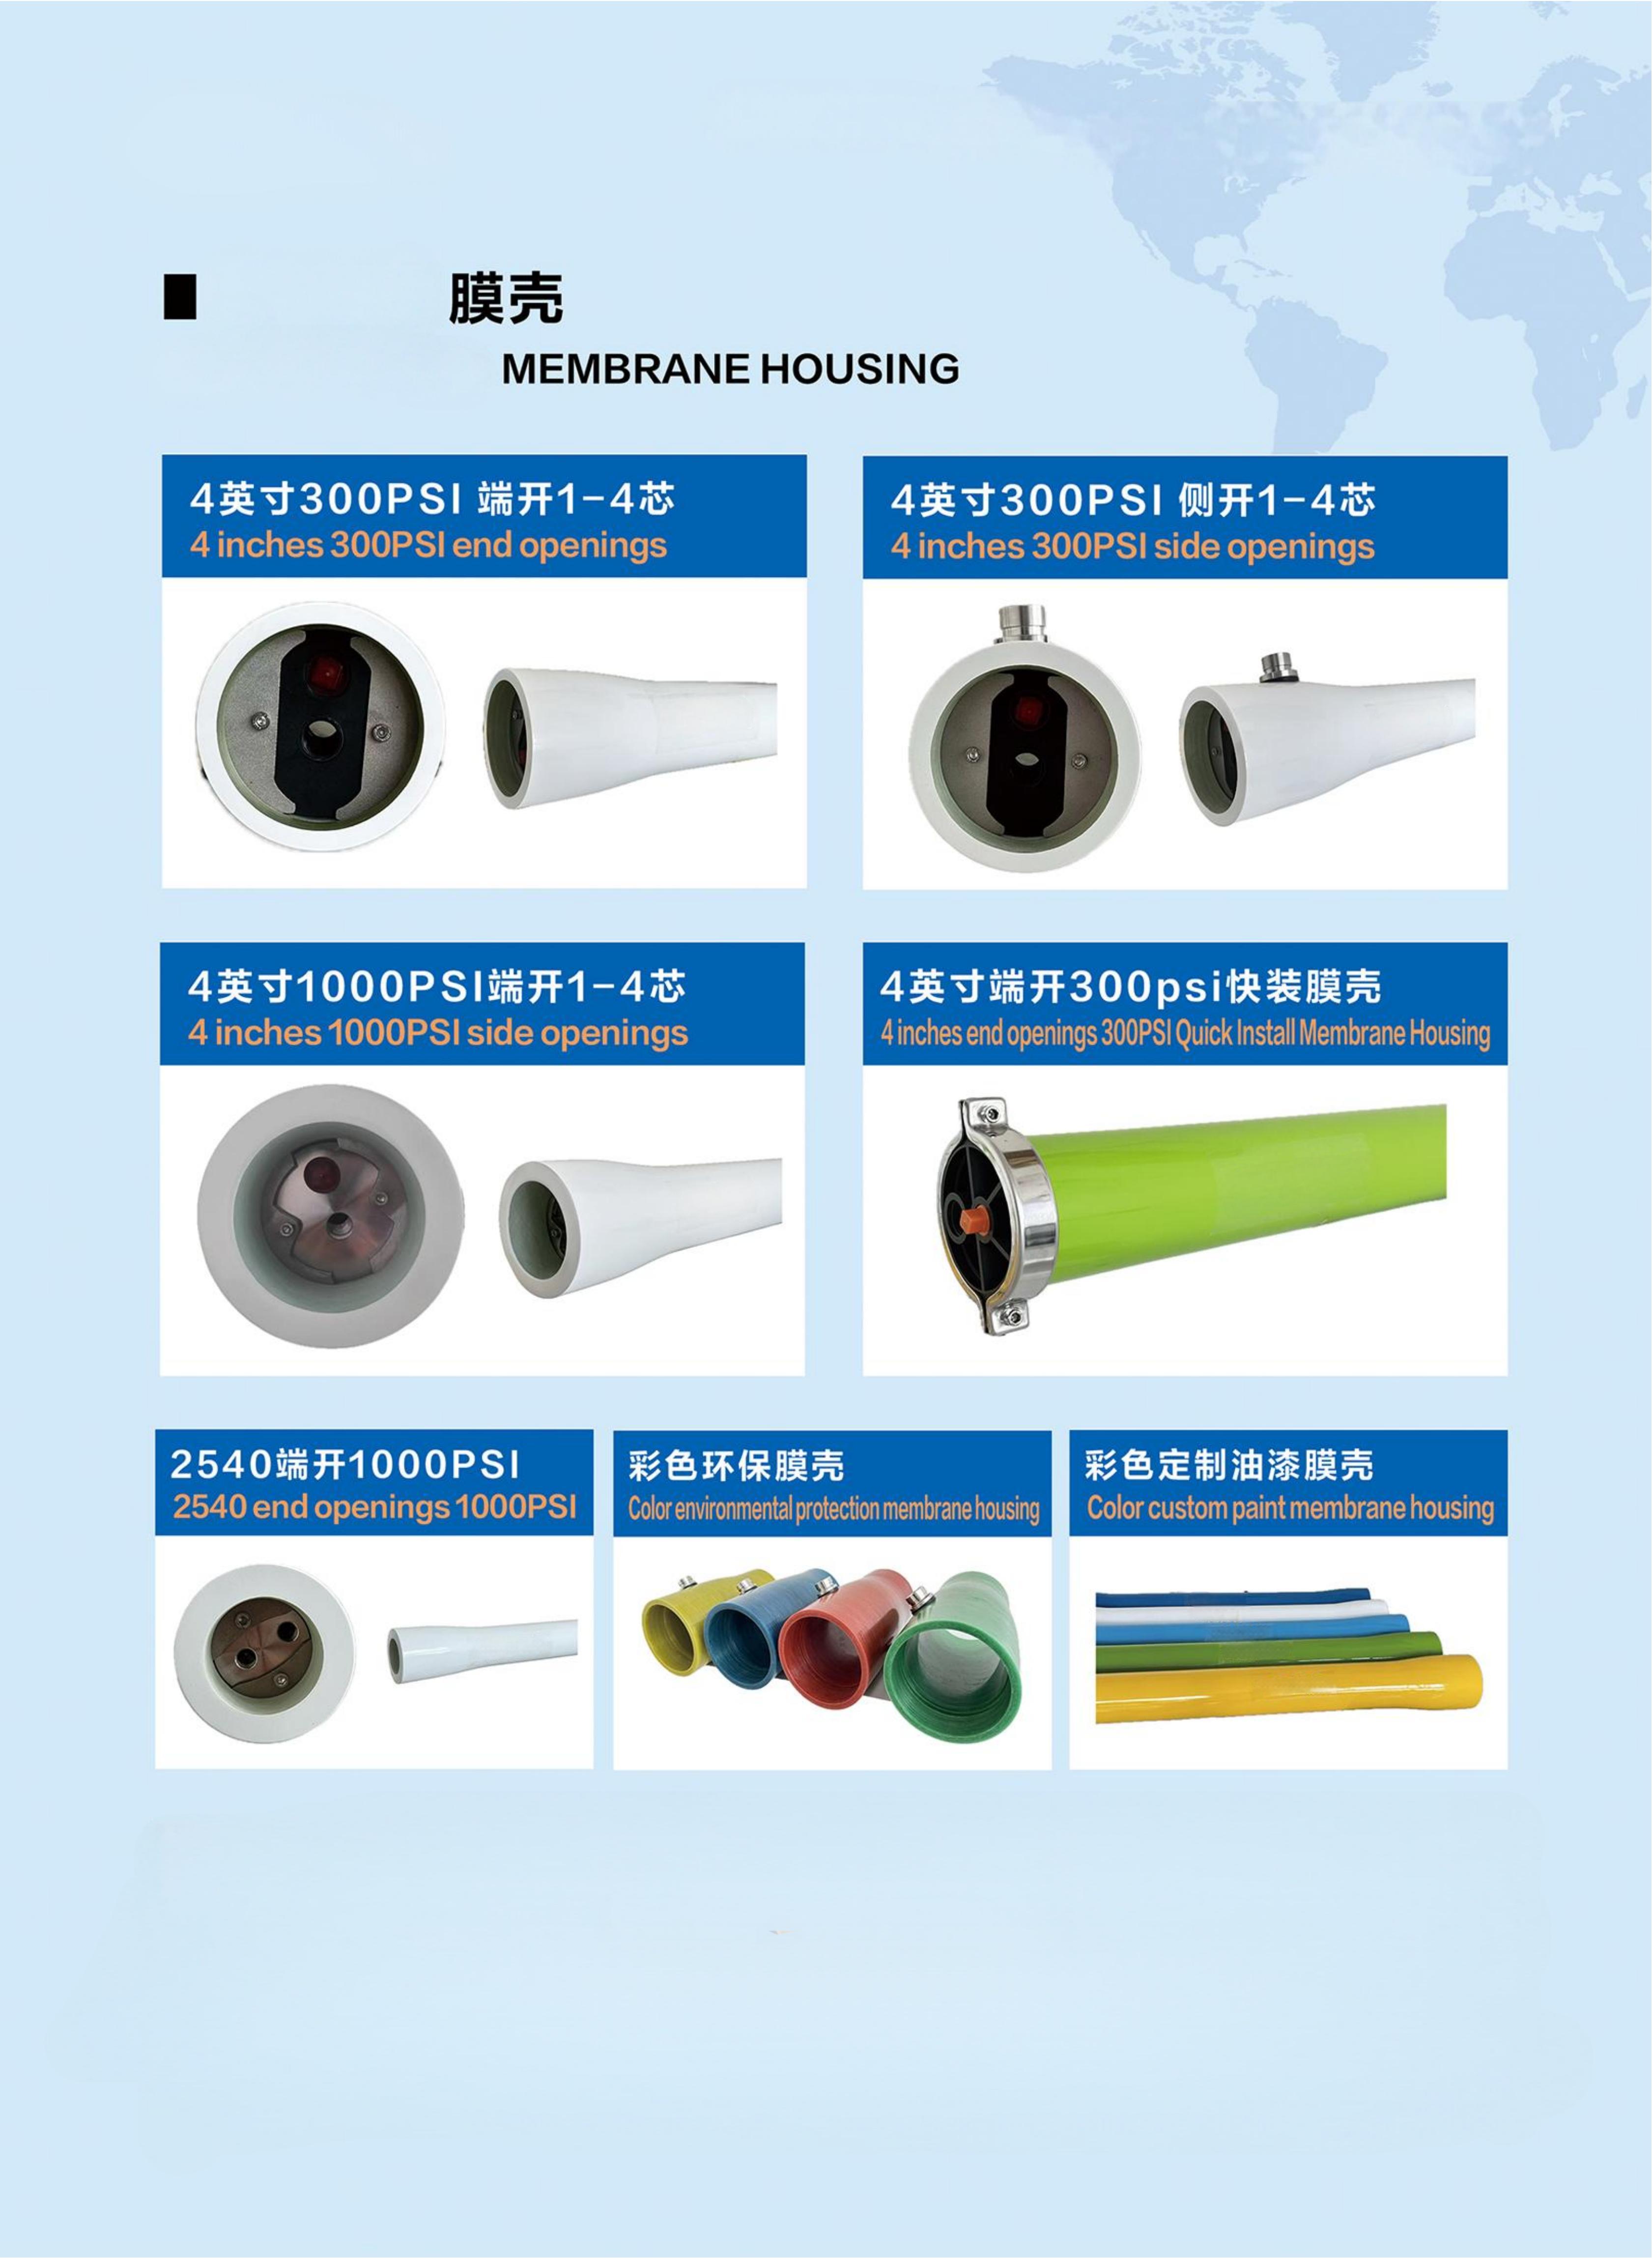
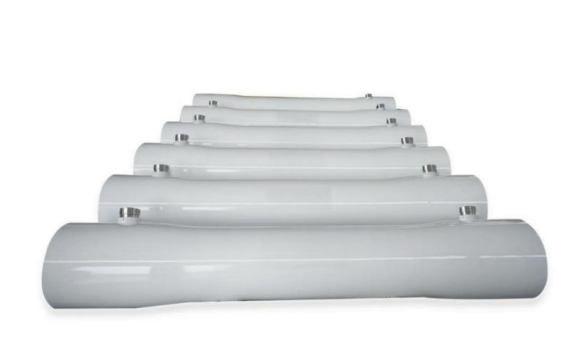
Pressure level coverage: 300psi/450psi/600psi/800psi/1000psi/1200psi/1500psi
Application fields: Electronics, electricity, metallurgy, chemical industry, medicine, food and beverage, sewage treatment, seawater desalination, etc.
Main Installation Dimensions
Model | Working Pressure | Element(s) | L(mm) | P(mm) | S(mm) |
R8040-300PSI | 300PSI | 1 | 1459 | 1139 | - |
R8040-300PSI | 300PSI | 2 | 2475 | 2155 | - |
R8040-300PSI | 300PSI | 3 | 3491 | 3171 | - |
R8040-300PSI | 300PSI | 4 | 4510 | 4190 | - |
R8040-300PSI | 300PSI | 5 | 5526 | 5206 | - |
R8040-300PSI | 300PSI | 6 | 6542 | 6222 | - |
R8040-300PSI | 300PSI | 7 | 7558 | 7238 | - |
R8040-450PSI | 450PSI | 1 | 1459 | 1139 | - |
R8040-450PSI | 450PSI | 2 | 2475 | 2155 | - |
R8040-450PSI | 450PSI | 3 | 3491 | 3171 | - |
R8040-450PSI | 450PSI | 4 | 4510 | 4190 | - |
R8040-450PSI | 450PSI | 5 | 5526 | 5206 | - |
R8040-450PSI | 450PSI | 6 | 6542 | 6222 | - |
R8040-450PSI | 450PSI | 7 | 7558 | 7238 | - |
R8040-600PSI | 600PSI | 1 | 1459 | 1139 | - |
R8040-600PSI | 600PSI | 2 | 2475 | 2155 | - |
R8040-600PSI | 600PSI | 3 | 3491 | 3171 | - |
R8040-600PSI | 600PSI | 4 | 4510 | 4190 | - |
R8040-600PSI | 600PSI | 5 | 5526 | 5206 | - |
R8040-600PSI | 600PSI | 6 | 6542 | 6222 | - |
R8040-600PSI | 600PSI | 7 | 7558 | 7238 | - |
R8040-1000PSI | 1000PSI | 1 | 1524 | 1142 | - |
R8040-1000PSI | 1000PSI | 2 | 2540 | 2158 | - |
R8040-1000PSI | 1000PSI | 3 | 3556 | 3174 | - |
R8040-1000PSI | 1000PSI | 4 | 4574 | 4192 | - |
R8040-1000PSI | 1000PSI | 5 | 5588 | 5208 | - |
R8040-1000PSI | 1000PSI | 6 | 6606 | 6226 | - |
R8040-1000PSI | 1000PSI | 7 | 7622 | 7242 | - |
R4040 End Entry | 300PSI, 450PSI | 1 | 1118 | - | 700 |
R4040 End Entry | 300PSI, 450PSI | 2 | 2135 | - | 1350 |
R4040 End Entry | 300PSI, 450PSI | 3 | 3152 | - | 1960 |
R4040 End Entry | 300PSI, 450PSI | 4 | 4168 | - | 1580*2 |
R4040 End Entry | 600PSI, 800PSI, 1000PSI | 1 | 1177 | - | 700 |
R4040 End Entry | 600PSI, 800PSI, 1000PSI | 2 | 2193 | - | 1350 |
R4040 End Entry | 600PSI, 800PSI, 1000PSI | 3 | 3210 | - | 1960 |
R4040 End Entry | 600PSI, 800PSI, 1000PSI | 4 | 4226 | - | 1580*2 |
For detailed introduction, please click on the link below:
The 8-inch winder FRP Membrane Housing can hold up to 8 RO Membranes, with a maximum pressure of 1500PSI. Due to the humid operating environment of the FRP Membrane Housing system, disassembling work becomes challenging. Here, we will introduce the disassembly method for the RO Membrane Housing end cap and the usage steps of the extractor:
Disassembly steps:
Before disassembling the end cap, ensure the pressure in the membrane housing is fully released.
Use the Allen wrench to unscrew the bolts on the membrane housing end cap.
If the stopper is loose, remove it directly; if it’s tightly stuck, tap the bearing plate with a tool to loosen it.
Screw the extractor’s ejection screw into the end cap permeate port and secure it.
Fit the ejection plate onto the screw.
Screw the round nut onto the screw to fix the ejection plate.
Insert the afterburner into the nut and rotate clockwise until the membrane housing end cap is removed from the sealing area.
Take the extractor off the membrane housing end cap.
The membrane housing end cap is now disassembled, and the extractor significantly simplifies the process.